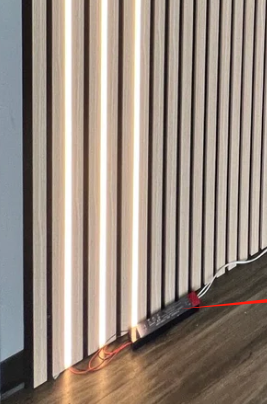
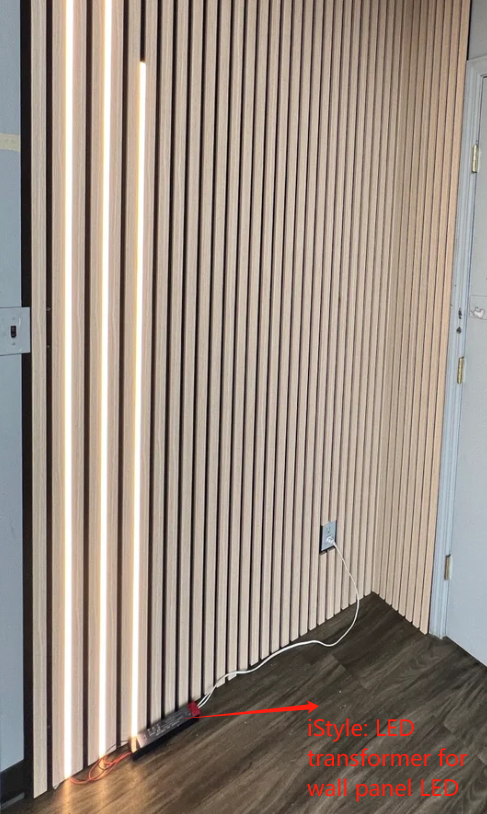
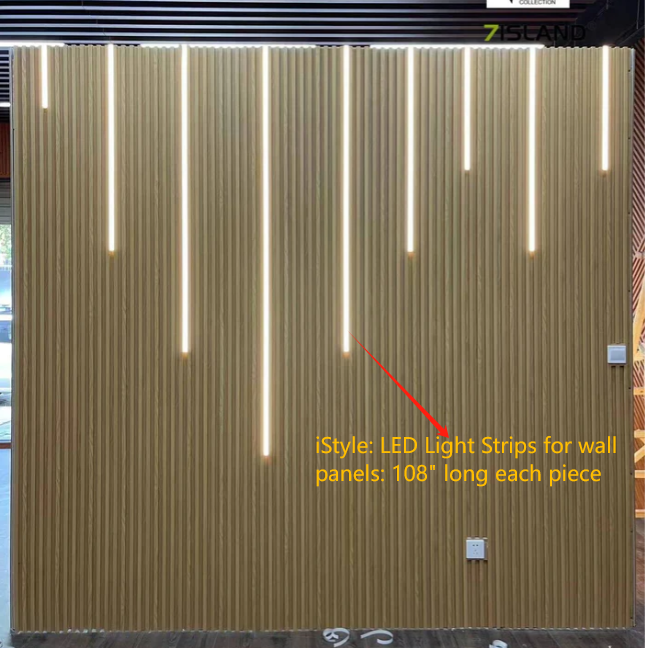
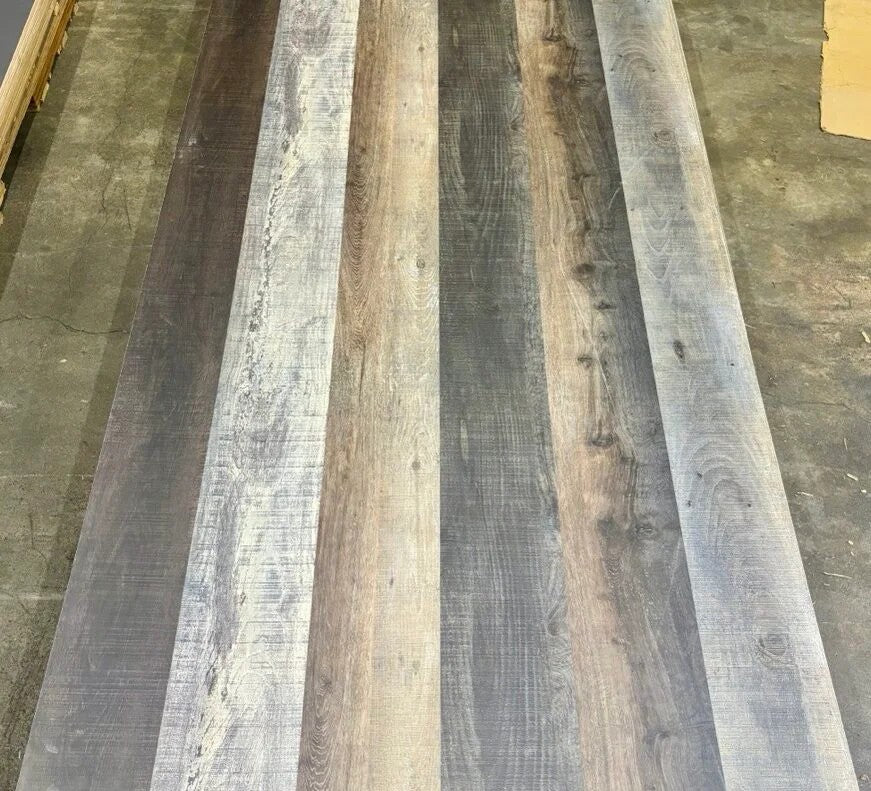
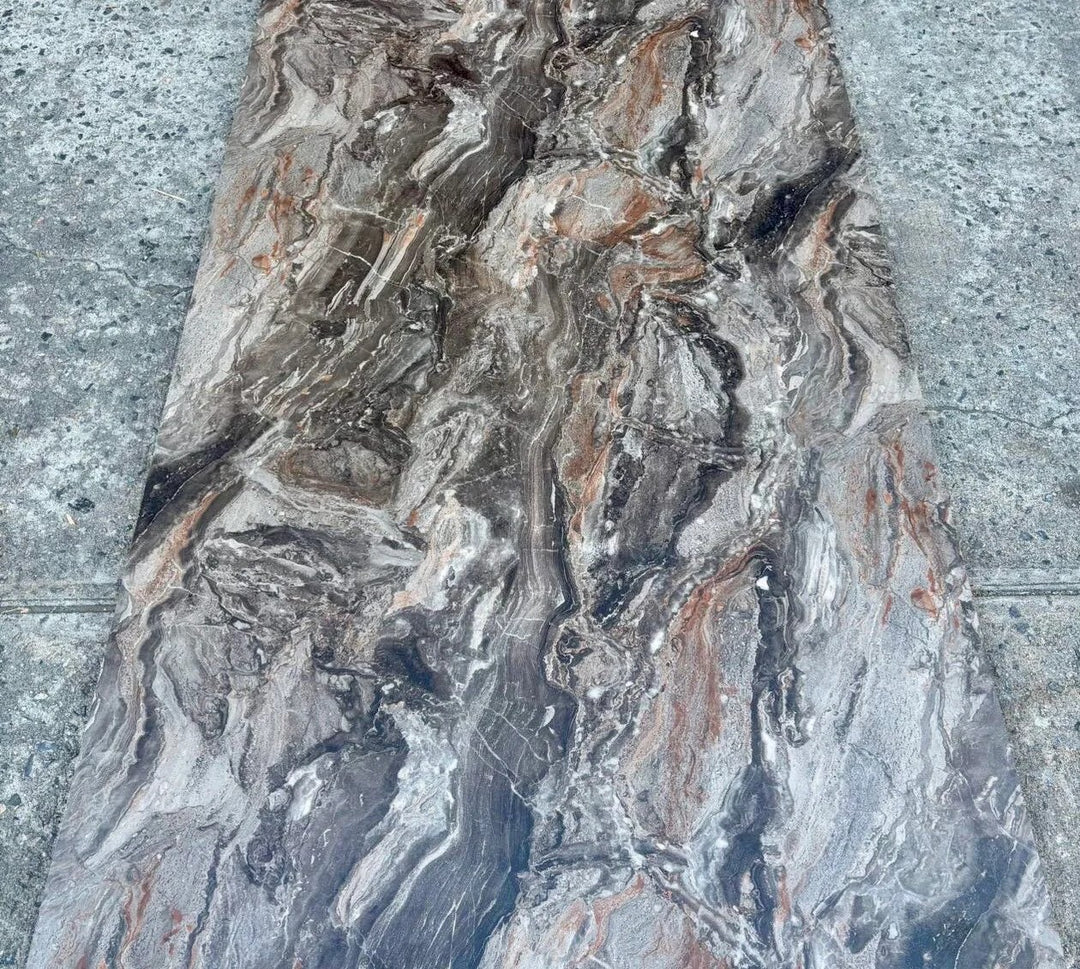
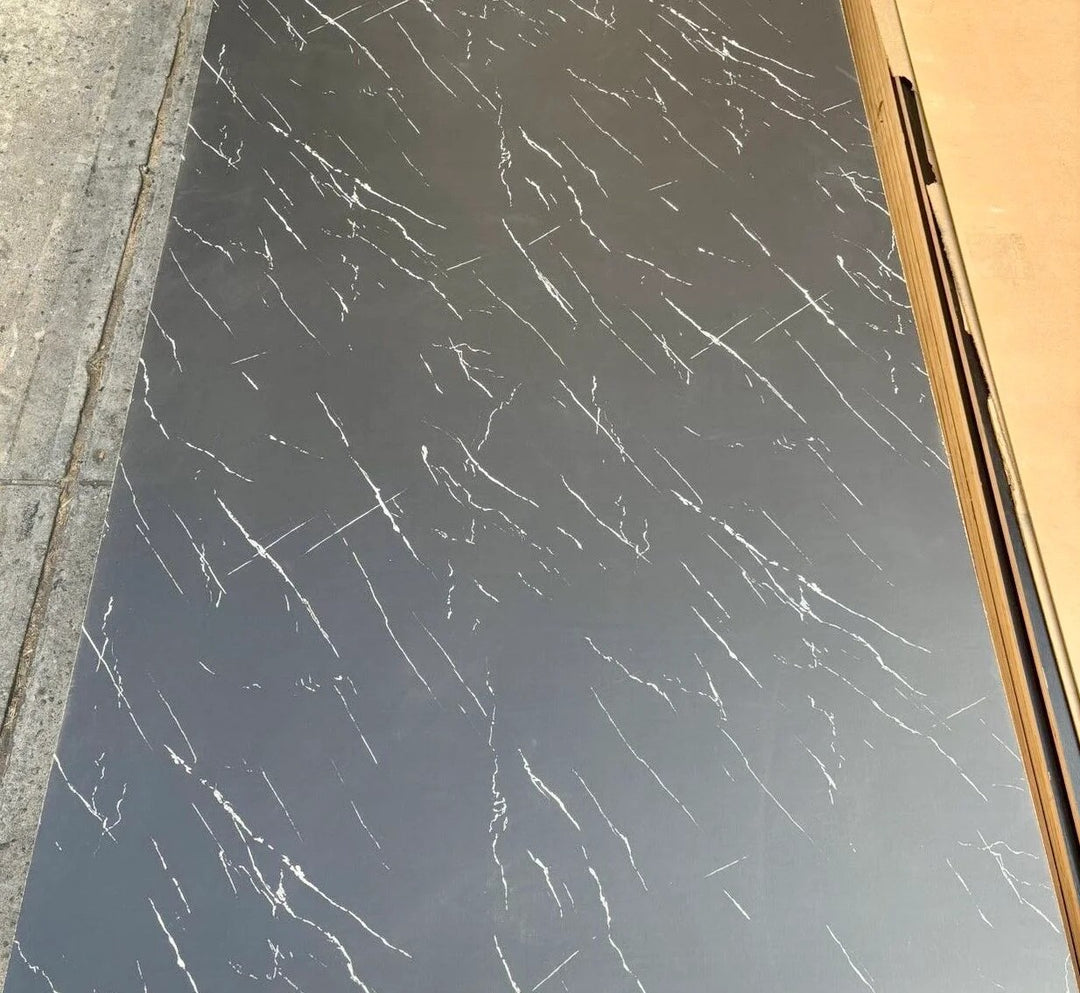
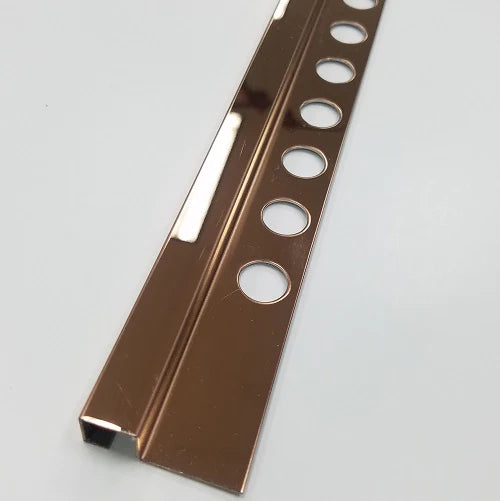
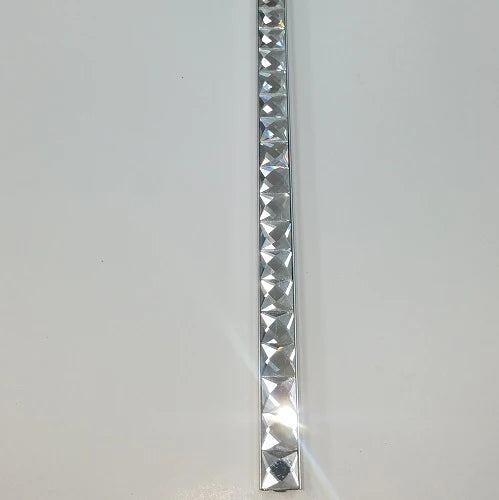
Installing Bamboo charcoal is a relatively straightforward process, and it can be a great way to enhance the aesthetics of a room while also providing a durable and easy-to-maintain surface. Here is a general guide for installing Bamboo charcoal wall panels:
Materials and Tools:
1. PVC wall panels
2. Adhesive (recommended for bonding panels to the wall)
3. Screws/nails
4. Screwdriver/drill
5. Level
6. Saw (for cutting panels to fit)
7. Measuring tape
8. Pencil
9. Sandpaper
Installation Steps:
1. Preparation:
Ensure that the wall surface is clean, smooth, and dry. Remove any existing wallpaper or loose paint.
If the wall is uneven, use sandpaper or a filler to smooth out imperfections.
Measure the dimensions of the wall to determine the number of panels needed and any necessary cuts.
2. Marking and Layout:
Use a level and pencil to mark a horizontal line on the wall to ensure that the panels are installed straight.
Start from the center of the wall and work outward to ensure balanced panel placement.
3. Cutting Panels:
Measure and mark any cuts needed for corners, outlets, or other obstructions.
Use a saw to cut the panels to the required size. Be sure to wear appropriate safety gear.
4. Applying Adhesive:
Apply a suitable adhesive to the back of the panel. Make sure to follow the manufacturer's instructions for the adhesive.
Press the panel firmly against the wall, starting from the top. Use a level to ensure that the panel is straight.
5. Securing Panels:
If the panels have a tongue-and-groove system, connect the panels by fitting the tongue of one panel into the groove of the adjacent panel.
Secure the panels to the wall using screws or nails at the edges and corners.Ensure the fasteners are evenly spaced.
6. Repeat the Process:
Continue applying adhesive and securing panels until the entire wall is covered.
7. Cleaning:
Wipe down the installed panels to remove any adhesive residue or dust.
Note:
For additional support, you can request a video installation guide or contact us for inquiries via email.


